SPECIAL OFFER BUY 3 JERSEYS = GET 1 FREE

How to Frame a Football Shirt: Step-by-Step from Glass to Wall
A complete practical guide to framing a football shirt at home: choosing the right UV-protective glazing, standard frame dimensions, invisible mounting methods, and the best spots to hang your display without fading the fabric.
In this article8 sections
- Step 1: Understand Why the Frame Choice Makes or Breaks a Shirt Display
- Step 2: Pick the Right Frame Size for Your Shirt
- Step 3: Choose Your Frame Materials, Color, and Finish
- Step 4: Prepare the Shirt Before Mounting
- Step 5: Mount the Shirt Without Damaging the Fabric
- Step 6: Choose Where to Hang Your Framed Football Shirt
- Step 7: Long-Term Maintenance for a Framed Shirt Display
- FAQ
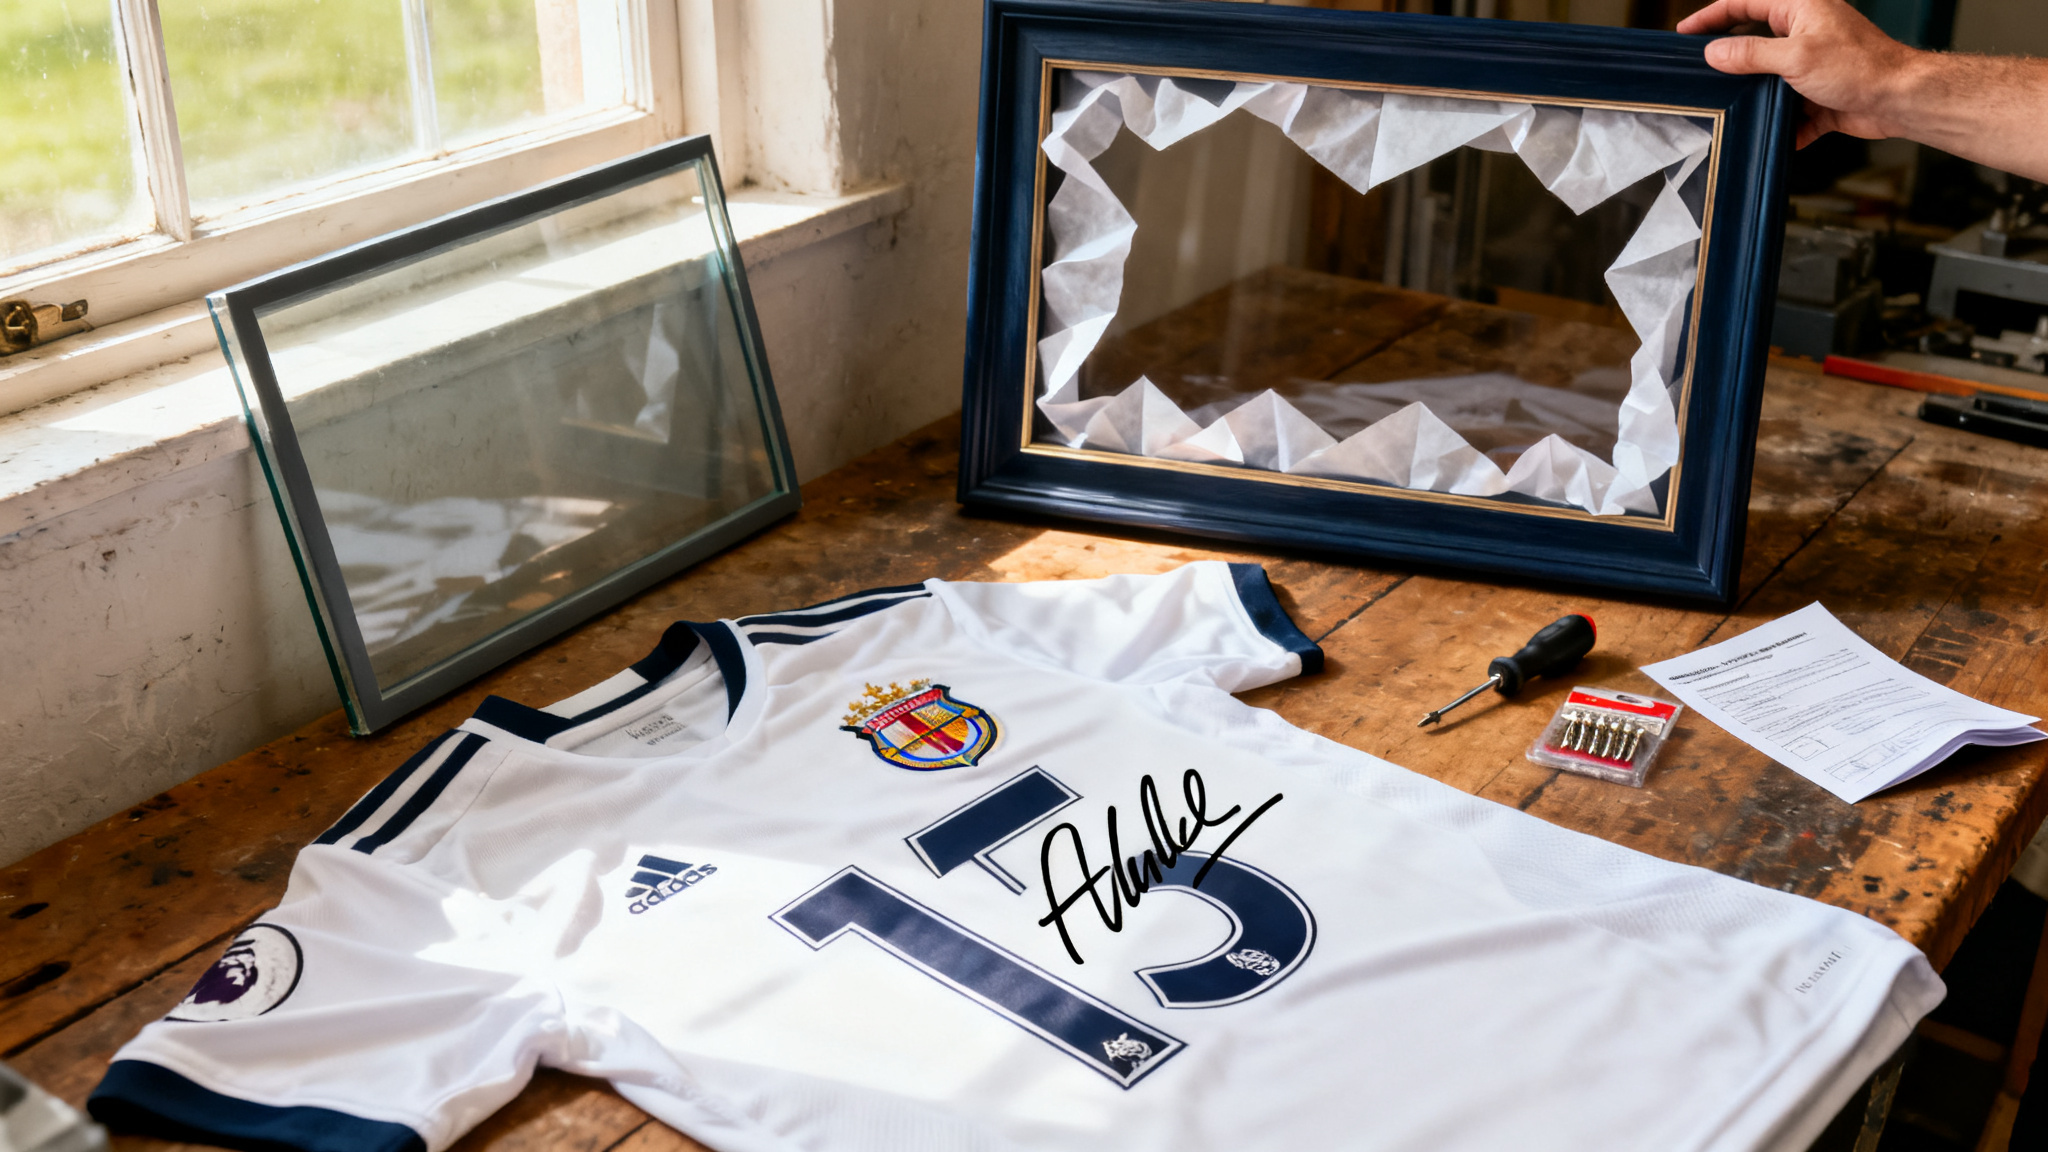
You finally have it: the shirt. Maybe someone handed it to you after the final whistle, or you tracked it down through three collectors and two countries. Now it is sitting folded in a bag, and you know it deserves better than a drawer. Framing a football shirt properly takes about two hours, a few specific materials, and one very important decision about glass. Get those right, and the thing will hang on your wall looking sharp for decades. Get them wrong, and a signed Scholes or a 1998 Brazil top starts fading before the next World Cup.
This guide walks you through all 7 steps: picking the frame, choosing UV protection, preparing the shirt, mounting without damage, sealing the box, finding the right wall position, and keeping the display in good shape for the long haul. No guesswork, no shortcuts that cost you later.
Step 1: Understand Why the Frame Choice Makes or Breaks a Shirt Display
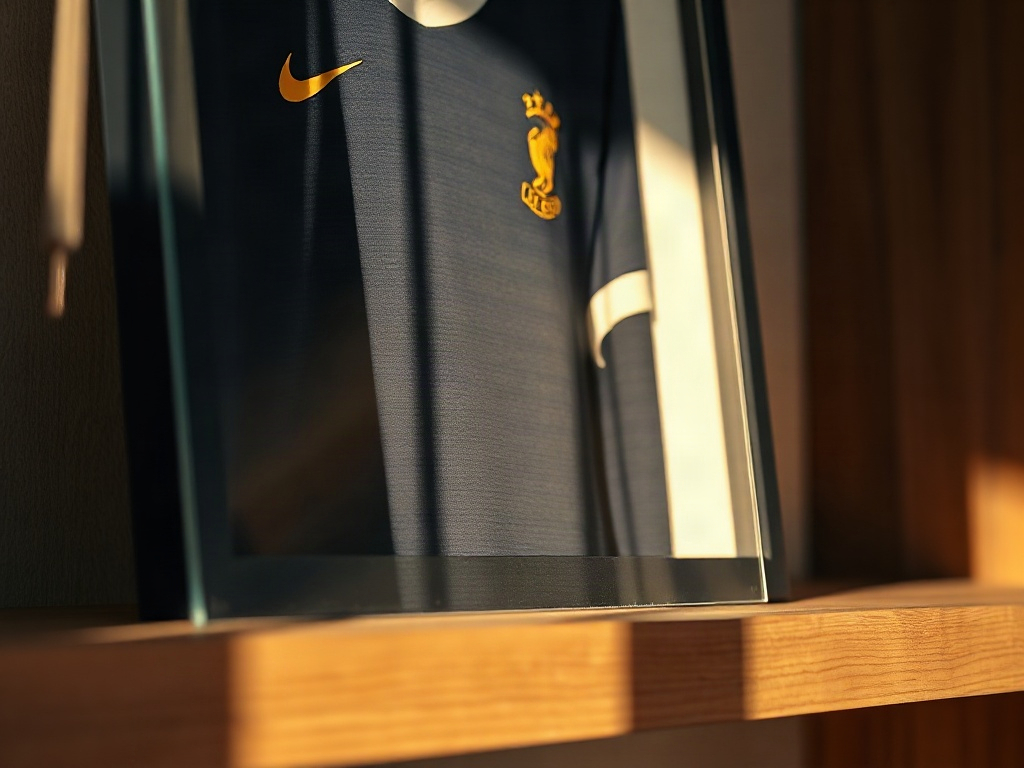
Before you buy anything, understand the main enemy: ultraviolet light. Sunlight and even standard household LED strips emit UV radiation that bleaches dyes in polyester and cotton fabric over time. A modern polyester away kit can show visible fading within 18 months if hung in direct light behind standard float glass. A vintage cotton shirt from the 1980s or 1990s is even more vulnerable because the dyes are older and less stable.
The solution is UV-protective glazing. There are two practical options for framing a football shirt:
- UV-filtering acrylic (also called Perspex or Plexiglas): Blocks 99% of UV rays, lightweight, shatter-resistant. The standard choice for shadow box frames. Typically 2-3mm thick for frames up to 80cm wide.
- Museum glass (low-iron UV glass): Optically clearer, nearly reflection-free, blocks 99% UV. More expensive and heavier, but the right call for a signed or historically significant shirt where presentation matters most.
Standard float glass, which you find on cheap frames, offers almost zero UV protection. Avoid it entirely for anything you care about.
The second structural decision is depth. A shirt frame is a shadow box, not a flat picture frame. You need at least 40mm of internal depth to accommodate the shirt without it pressing against the glass. Most specialist jersey frames run between 40mm and 70mm deep. Shallower than 40mm and the fabric bunches against the glazing, creating pressure marks and trapping moisture.
Step 2: Pick the Right Frame Size for Your Shirt
Frame sizing depends on how you want to display the shirt: folded, or full panel (fully spread). Both are valid. The choice is mostly about wall space and whether you want the back or the sleeves visible.
Full-Panel Display (Shirt Spread Flat)
An adult size L football shirt spread flat measures roughly 65-70cm wide (shoulder to shoulder, sleeves tucked) and 75-80cm tall. For full panel display with a 5-7cm mount border all around, you need an internal frame opening of approximately 80cm x 90cm. A finished frame at that size runs 85-95cm wide by 95-105cm tall. That is a significant wall presence, closer to a medium painting than a poster.
Folded Display (Classic “Shop Window” Look)
Folding the shirt in thirds vertically is the most common approach for home displays. It shows the crest, the name-and-number, and the front panel cleanly. The folded shirt typically measures about 35-40cm wide by 55-65cm tall. Add your border and you are looking at a finished frame of around 55cm x 80cm. That size fits comfortably above a desk, on a staircase wall, or in a hallway alcove.
Quick Reference Table
| Display Style | Shirt Size | Recommended Internal Opening | Finished Frame (approx.) |
|---|---|---|---|
| Full panel, sleeves tucked | Adult M/L | 80 x 90 cm | 90 x 100 cm |
| Full panel, sleeves tucked | Adult XL/XXL | 90 x 95 cm | 100 x 105 cm |
| Folded (classic) | Adult M/L/XL | 45 x 70 cm | 55 x 80 cm |
| Folded (classic) | Youth/Kids | 35 x 55 cm | 45 x 65 cm |
If you are still deciding which shirt deserves the wall treatment, take a look at the full jersey collection at Concept Jerseys for shirts whose design detail and fabric quality genuinely reward framing, from heavyweight vintage-style cotton weaves to modern double-knit polyester tops with sharp sublimated crests.
Worth framing
Concept Jerseys – Collector Editions
Limited-run shirts made to the same spec as heritage originals: woven club crests, 180-gsm performance fabric, and stitched lettering rather than heat-press. The kind of details that look right behind museum glass and feel right under your fingers before they go up.
Browse shirts worth displaying
Step 3: Choose Your Frame Materials, Color, and Finish
The frame molding is more than decoration. It affects the long-term structural stability of the display, especially for larger sizes where the weight of the shirt plus glazing is substantial.
Solid Wood vs. MDF vs. Aluminum
- Solid wood (oak, walnut, pine): The most durable option for large frames. Resists warping over time, especially in rooms with temperature variation. More expensive, but a solid walnut shadow box frame for a signed shirt is genuinely a lifetime display piece.
- MDF with veneer or lacquer finish: The most common option in mid-price jersey frames. Adequate for frames up to 80cm wide if the construction is quality. Avoid very cheap MDF frames (under $40/£35) for anything above 60cm: the joints are typically weak and the frame will bow inward under the weight of UV acrylic over two or three years.
- Aluminum profile frames: Slim, modern look. Very strong and warp-proof. Good for a contemporary room. The thin profile means the internal depth is often limited (30-40mm), which works for folded shirts but may struggle with full-panel displays of thicker vintage fabric.
Frame Color, Finish, and the Shirt

The simplest rule: match the frame to the room, not to the shirt. A dark walnut or black frame works with almost any kit against almost any wall color. White or off-white frames suit lighter rooms and modern kits. Avoid frames in the shirt’s primary color unless the contrast is genuinely strong, because the molding and the fabric blur into each other visually from a distance.
If the shirt carries a strong personal story (a signed match-worn shirt, a kit from a final you attended), a small engraved brass plaque below the shirt inside the frame adds context without cluttering the display. Engravers on Etsy and local trophy shops will do this for $15-25/£12-20 for a standard plate.
Step 4: Prepare the Shirt Before Mounting
How you prepare the shirt before it goes into the frame matters as much as the mounting itself. A shirt sealed inside a shadow box with residual moisture or body salts will degrade faster than one that goes in clean and dry.
To Wash or Not to Wash
For replica shirts and personal match-worn shirts without signatures, a gentle wash before framing is the right move. Wash at 30°C on a delicate cycle, no spin, and dry flat on a clean towel. Body salts, sweat, and surface grime continue to break down synthetic dyes even in the dark inside a sealed frame. Removing them before mounting extends the life of the colors noticeably. Make sure the shirt is completely and thoroughly dry before it goes anywhere near the foam board: even residual dampness sealed inside a closed box will produce mildew.
For signed shirts, do not wash. Marker ink on polyester is typically water-soluble. A signed shirt should go in as-is. If it has minor surface dirt on non-signed areas, a careful dab with a dry microfibre cloth is the limit of what you should do. Conservation-grade dry cleaning is an option for very valuable pieces; the Institute of Conservation (ICON) maintains a directory of accredited textile conservators in the UK and internationally if you need that level of care.
Pressing and Shaping
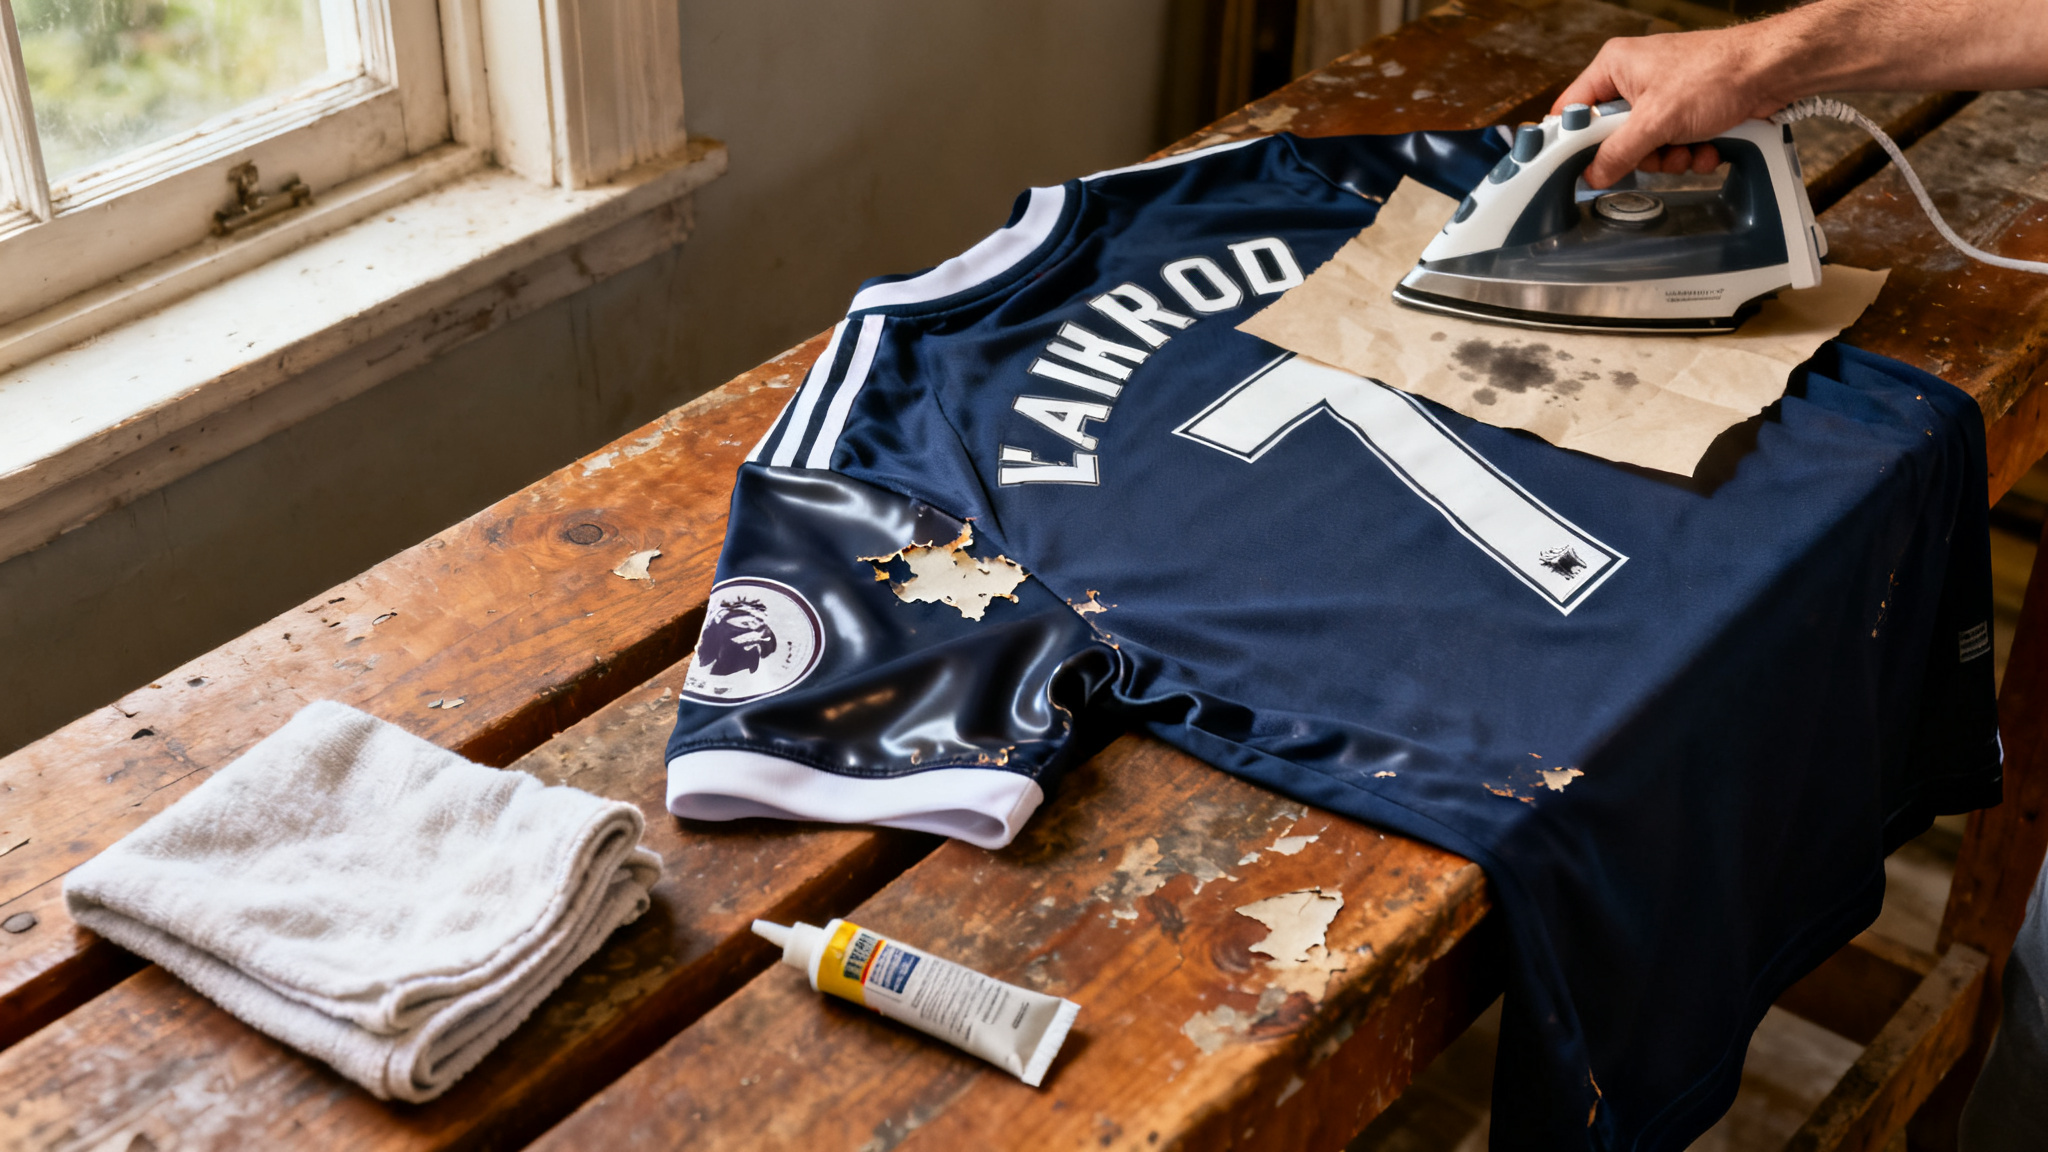
Iron the shirt lightly on a cool setting (synthetics, no steam) before mounting if it has storage creases. Focus on the front panel and hem. A crisp front face makes a significant visual difference once the shirt is behind glass. Do not iron over embroidered crests or raised sponsor logos: the heat flattens the three-dimensional weave structure that makes those details look sharp.
Step 5: Mount the Shirt Without Damaging the Fabric
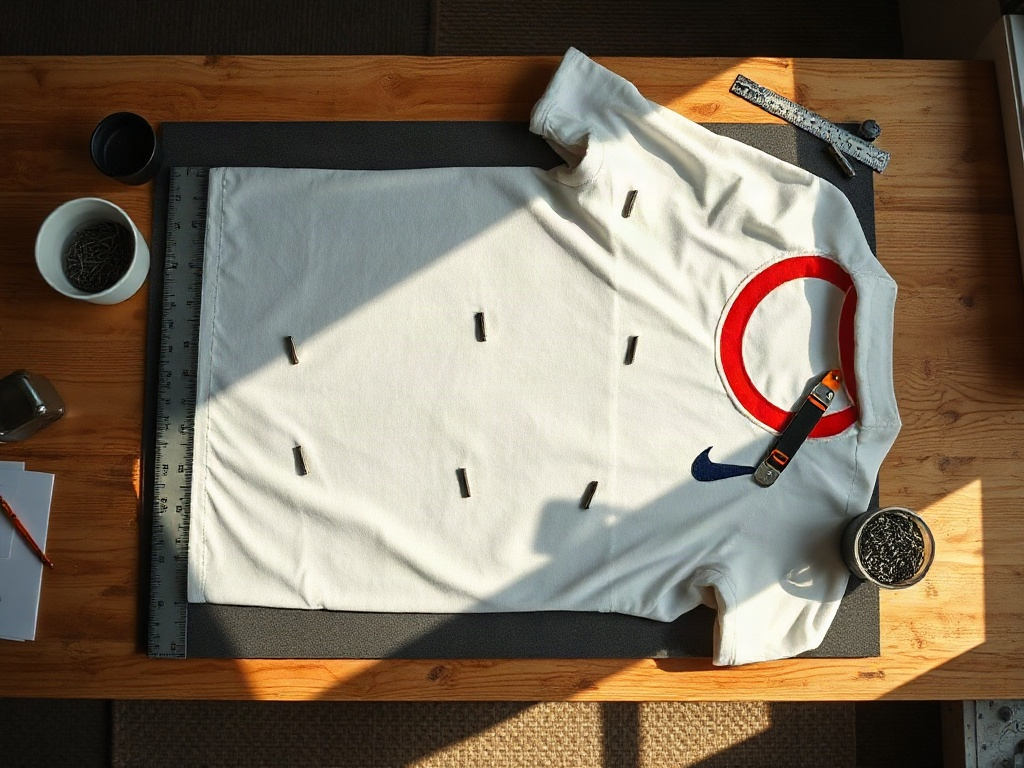
This is where most people either go too far (staple guns, hot glue, permanent adhesive tape) or not far enough (shirt just placed loose inside the box, sliding every time someone opens a door). Neither works long-term. The goal is a reversible, invisible mounting method that holds the shirt flat and keeps it in position for years without stressing the fabric.
The Foam Board and Pin Method (Best for Most Shirts)
This is the standard used by most professional framers for jersey displays. It is fully reversible and leaves no marks.
- Cut an acid-free foam board to fit the internal opening of the frame. Foam board (also called foamcore) that is specifically labeled acid-free matters here: standard craft foam board contains acids that will yellow and eventually damage fabric over several years.
- Cover the foam board in a backing fabric. A thin cotton muslin or felt in a neutral color (black, white, navy, or grey) gives the display a clean, finished look and adds a layer of protection. Wrap it tightly around the back and secure with a small amount of double-sided tape or a hot-glue line along the edge only.
- Position the shirt on the covered board. Take your time. Lay the frame face-down, insert the board, and arrange the shirt on top until the crest, name, and number are centered and square. Use a ruler to check alignment from edge to edge.
- Secure with stainless steel shirt pins. These are thin, long straight pins with a flat head, sold specifically for jersey framing at most picture-framing suppliers. Push them through the shirt and into the foam board at the inside hem seams, collar seam, and sleeve fold edges only. Never pin through visible printed or embroidered areas. Pins go in every 8-10cm along any edge that needs holding.
- Check from the front before sealing. Hold the board up and look at the shirt face-on. Adjust anything that has shifted. Once the frame is sealed, reopening it risks disturbing the mount.
The Velcro Strip Method (Good for Thicker or Heavier Shirts)
For vintage cotton shirts that are heavier, or for any shirt where you want the option of removing it cleanly for matches without re-pinning, sew-on Velcro strips are a practical alternative. Sew the soft (loop) side of a 2cm wide Velcro strip along the inside of the shirt’s rear hem and along the back collar, using a needle and matching thread. Attach the hook side to the foam board with a small amount of acid-free adhesive. The shirt peels off cleanly and re-attaches flat every time.
One Method to Avoid
Adhesive sprays, carpet tape, or double-sided foam tape applied directly to the shirt fabric cause permanent staining and fiber damage within 12-18 months. The adhesive yellows, bleeds through, and is effectively impossible to reverse. If someone suggests this for a signed shirt, decline politely and do it properly.
Step 6: Choose Where to Hang Your Framed Football Shirt
Position is not just an aesthetic decision. It determines how long the shirt stays in good condition inside the frame.
Light Exposure: The Non-Negotiable
Even with UV-protective glazing, direct sustained sunlight is aggressive. A south-facing wall that gets six or more hours of direct sun per day will stress any fabric display over years. The UV glass buys you significant protection, but the safest placement is:
- A wall perpendicular to a window, where the shirt catches ambient light rather than direct rays.
- A north-facing wall in the northern hemisphere (indirect light all day).
- An interior wall, away from any window entirely, lit by artificial light.
If a south-facing display wall is unavoidable, upgrade to museum glass rather than standard UV acrylic. The additional optical coating on museum glass provides meaningfully better protection under sustained UV load.
Humidity and Temperature
Bathrooms and kitchens are off-limits for framed shirts. Humidity cycles cause wood frames to expand and contract, which stresses the glazing seals and eventually allows moisture inside the box. Moisture inside the box causes fabric mildew, which is irreversible. Keep framed shirts in rooms with relatively stable conditions: 40-60% relative humidity, 15-22°C (60-72°F). These are the same ambient parameters recommended by the British Museum’s collection care guidelines for textile objects in domestic storage.
Wall Fixings for Heavy Frames
A large shadow box frame with UV acrylic (3mm thick, 80x100cm pane) plus a shirt weighs 4-8kg depending on frame material. That is heavier than it looks. Use:
- Wall plugs and screws into solid masonry or a timber stud. Two fixing points minimum, horizontally spaced to match the hanging hardware on the back of the frame.
- Picture rail hooks if your room has a picture rail, rated to at least 10kg per hook.
- For plasterboard (drywall) walls without a stud, use toggle bolts or specialist hollow-wall anchors rated above the frame weight. Standard plastic plugs in plasterboard without a stud will pull out.
A spirit level is not optional. A framed shirt hanging 2 degrees off-level looks immediately wrong against a horizontal shirt-fold line. Take two minutes to get it right before tightening the screws.
Step 7: Long-Term Maintenance for a Framed Shirt Display
The frame is the start, not the finish. A shirt mounted well and hung in the right spot will genuinely last decades without major intervention, but it needs occasional attention. Here is what that looks like in practice.
Annual Check Routine
Once a year, do a five-minute inspection. It is worth putting in the calendar.
- Check the back of the frame for any sign of moisture staining, warping, or separation at the joints. If you see moisture on the inside of the glazing, the seal has failed and the shirt needs to come out and be re-mounted in a new or resealed frame immediately.
- Check the wall fixings. Tug gently on the bottom of the frame. If there is any movement, tighten or replace the screws and wall plugs before the frame works itself loose. A large shadow box frame falling from a wall is a significant impact.
- Inspect the shirt surface through the glazing for any color change, staining creep, or visible damage. Catching a problem early (a pinhole in the back seal, a slightly warped MDF corner) means a simple fix rather than a full re-mount.
- Check the hanging wire or D-ring cable for any fraying. Standard picture wire rated to 10kg should be replaced every 5-7 years regardless. Wire fatigue is invisible until it fails. If you are unsure of the wire’s age, replace it; the cost is pennies relative to what you are protecting.
Cleaning the Glazing
Dust the front of the glazing with a dry microfibre cloth in light, circular motions. Do not use glass spray cleaners on UV acrylic: solvent-based sprays fog the UV coating over time and reduce its protective performance. For museum glass, a barely-damp microfibre cloth (water only) is fine for fingerprints, followed immediately by a dry cloth pass to prevent streaking.
Do not clean the inside of the glazing unless you are fully re-opening the frame for a re-mount. Every time the box is opened, the shirt is at risk of handling damage, dust ingress, and pin displacement.
Moving House With a Framed Shirt
A shadow box frame is more vulnerable in transit than a standard picture frame because the weight of the glazing creates significant internal stress if the frame is laid flat. Always transport a large shadow box frame upright, leaning against a padded surface. Wrap it in a furniture moving blanket secured with soft ties (not tape directly on the molding). Keep it away from the sides of the van where vibration is highest. Laying a 90x100cm shadow box flat in a removal van puts lateral stress on the glazing seals at each corner; the failure is not always immediate but often shows up as a hairline crack in the acrylic three to six months later.
When to Re-Mount Entirely
A properly mounted shirt on acid-free foam board with stainless steel pins should not need re-mounting for 15-20 years under normal indoor conditions. You should consider a full re-mount if: the backing fabric shows significant discoloration or off-gassing smell (an indicator that the board is not genuinely acid-free); the shirt has shifted visibly inside the frame despite pinning; or if the frame itself needs structural repair that requires full disassembly. When you do re-mount, it is worth replacing the foam board and backing fabric entirely rather than reusing the original materials.
FAQ
Can I wash the shirt before framing it?
Yes, and for most shirts it is the right call. Wash at 30°C on a gentle cycle, no spin, and dry flat. Make sure the shirt is completely dry before mounting: any residual moisture sealed inside a closed frame will cause mildew. If the shirt is signed, do not wash it. Marker ink on polyester is water-soluble in most cases. A signed shirt should go in as-is, and if it has minor surface dirt, a careful dab with a dry microfibre cloth on non-signed areas is the limit of what you should do.
What frame depth do I need for a shirt with thick lettering or badges?
Shirts with heavy embroidered badges, raised sponsor logos, or full-width heat-pressed lettering need more internal depth. Plan for at least 55mm of internal shadow box depth in these cases. Anything shallower will press the raised elements against the glazing, causing visible indentations over time and trapping condensation behind the thicker areas of fabric.
Should I display the front or the back of the shirt?
Personal choice, but consider this: if the shirt is signed on the back (common with squad signatures or a shirt signed by the player wearing that number), show the back. If it carries a sponsor logo or a memorable crest on the front, the front face gives the cleaner reading from across the room. Some collectors frame both sides using a double-sided shadow box with UV glazing on both faces. These frames are specialist items, typically made to order, and run $180-350/£150-280 for a quality version.
How do I stop the shirt from sliding inside the frame once it is hung?
This is almost always a pinning issue. If the shirt is only pinned along the top edge, gravity will cause the lower half to sag and slide over months. Pins or Velcro strips need to follow every hem edge: bottom hem, both side seams, and the sleeve fold lines. A shirt pinned at 20-25 points across its edges will not move. One or two pins at the top only will give you visible sag within six months.
Is it worth framing a replica shirt, or only match-worn and signed ones?
A framed replica from a significant match you attended, a season you will always remember, or a shirt from a club that means something to you personally is absolutely worth displaying properly. The sentimental value is real regardless of the shirt’s market value. The framing process and materials are the same whether the shirt cost $35 or $3,500. The one difference: for a genuine match-worn or signed shirt with serious collector value, always use museum glass rather than standard UV acrylic, and consider having the mounting done by a professional conservation framer who works with textile items.
Where can I find vintage and replica shirts worth adding to my wall?
Framing a football shirt starts with having a shirt that earns the wall. For collector-quality replicas with embroidered crests, proper woven badges, and fabric weights that hold their shape behind glass, browse the full range at Concept Jerseys. You can also explore the Concept Jerseys journal for guides on caring for and collecting football shirts over the long term.
If you are still deciding which shirt deserves this treatment, the answer is usually the one that already has a story. The shirt you wore to the final. The one a player handed to your kid. The away kit from the season your club did something nobody expected. Those are worth the two hours and the right materials. Check out our guide to caring for and collecting football shirts for more on long-term storage and preservation.
For your collection
Vintage and Replica Shirts at Concept Jerseys
From heritage club crests to iconic international kits, the Concept Jerseys range covers shirts that hold genuine display value: clean sublimated graphics, stitched badge construction, and fabric weights that sit flat in a shadow box without bunching. Each one ships ready to frame.
Shop the full collection
The shop
Find your jersey
Clubs, national teams, concept and retro designs. With your name and number, if you like.
- Free shipping from $65
- 3 jerseys = 1 free
- 14-day returns