SPECIAL OFFER BUY 3 JERSEYS = GET 1 FREE

How to Remove Printing from a Football Shirt Without Wrecking the Fabric
Step-by-step guide to removing heat-pressed or screen-printed lettering from a football shirt. Covers the reverse iron method, adhesive solvents, and professional textile printing shops, plus an honest look at the risks and when replacing the jersey makes more sense than stripping it.
In this article8 sections
- Know What You Are Dealing With Before You Touch Anything
- The Reverse Iron Method for Heat-Transfer and Flock Printing
- Using an Adhesive Solvent for Stubborn Residue and Screen Print
- When to Take the Shirt to a Professional Textile Printer
- Risks That Can Permanently Damage Your Shirt
- When Keeping the Print (or Replacing the Shirt) Makes More Sense
- Frequently Asked Questions about Removing Football Shirt Printing
- What to Do Once the Print Is Gone
The name on the back reads wrong. Maybe it was a gift with the wrong spelling, maybe the player left the club under a cloud, maybe you bought a second-hand shirt and someone else’s number is heat-pressed onto it. Whatever got you here, you want the printing off without turning a good jersey into a rag.
Removing printing from a football shirt is possible at home in most cases, but the outcome depends entirely on how that printing was applied in the first place. Get that part wrong and you risk ghosting, fabric pull, or a shiny patch where the letters used to sit. Get it right and the shirt can look almost untouched.
Here is what actually works, what can go wrong, and when you are better off walking away from the attempt altogether.
Know What You Are Dealing With Before You Touch Anything
Identifying your print type before touching the shirt is the single most important step: heat-transfer vinyl lifts cleanly with warmth, screen print needs solvents, and sublimation cannot be removed at all without destroying the fabric. Each type bonds differently, so the wrong technique does not just fail, it causes permanent damage to the shirt you are trying to save.
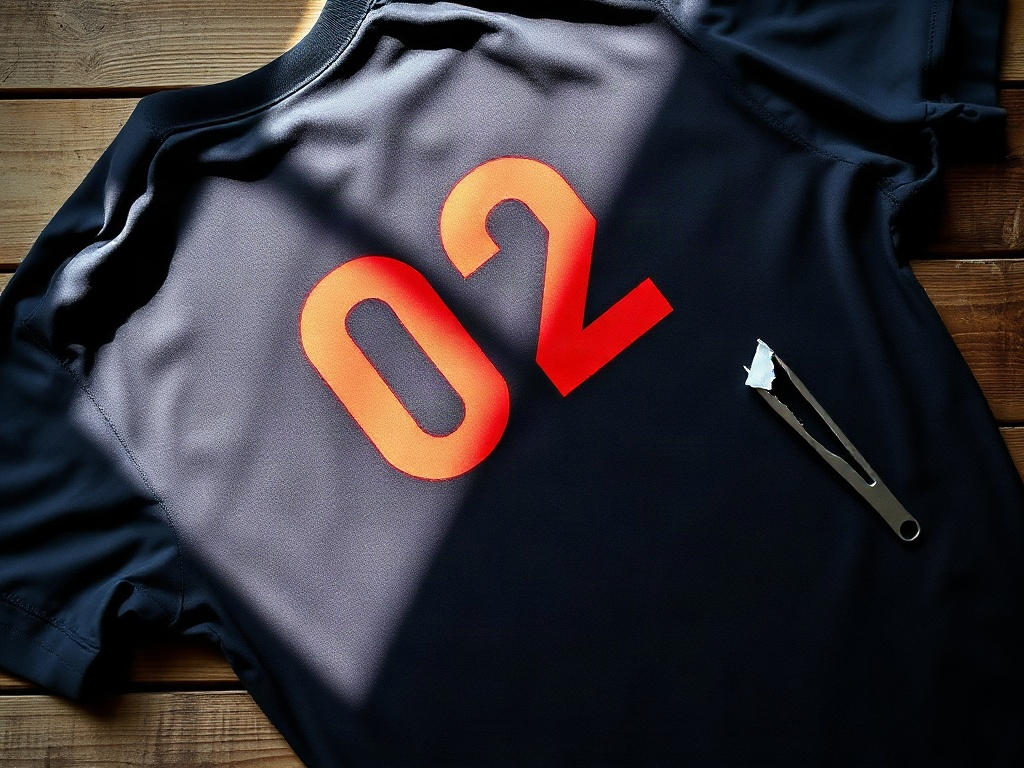
Football shirt printing falls into three main categories, and each one needs a different approach.
- Heat-transfer vinyl (HTV) or flock letters: thick, slightly raised characters with a rubbery or velvet texture. This is the most common type on modern replica shirts from clubs and online shops. It bonds through heat and pressure.
- Screen printing: flat ink printed directly into the fabric weave. Common on cheaper replica kits and some training shirts. You can feel it but it does not stand proud of the surface.
- Sublimation printing: the ink is baked into the polyester fibres themselves at the molecular level. No layer sits on top of the fabric. You cannot remove it without destroying the shirt.
Run your fingernail lightly across the lettering. If it catches and you can feel a raised edge, you are dealing with HTV or flock. If the surface is completely flat and the colour goes right into the weave, it is either screen print or sublimation. Knowing your print type before you start saves you from irreversible mistakes.
The Reverse Iron Method for Heat-Transfer and Flock Printing
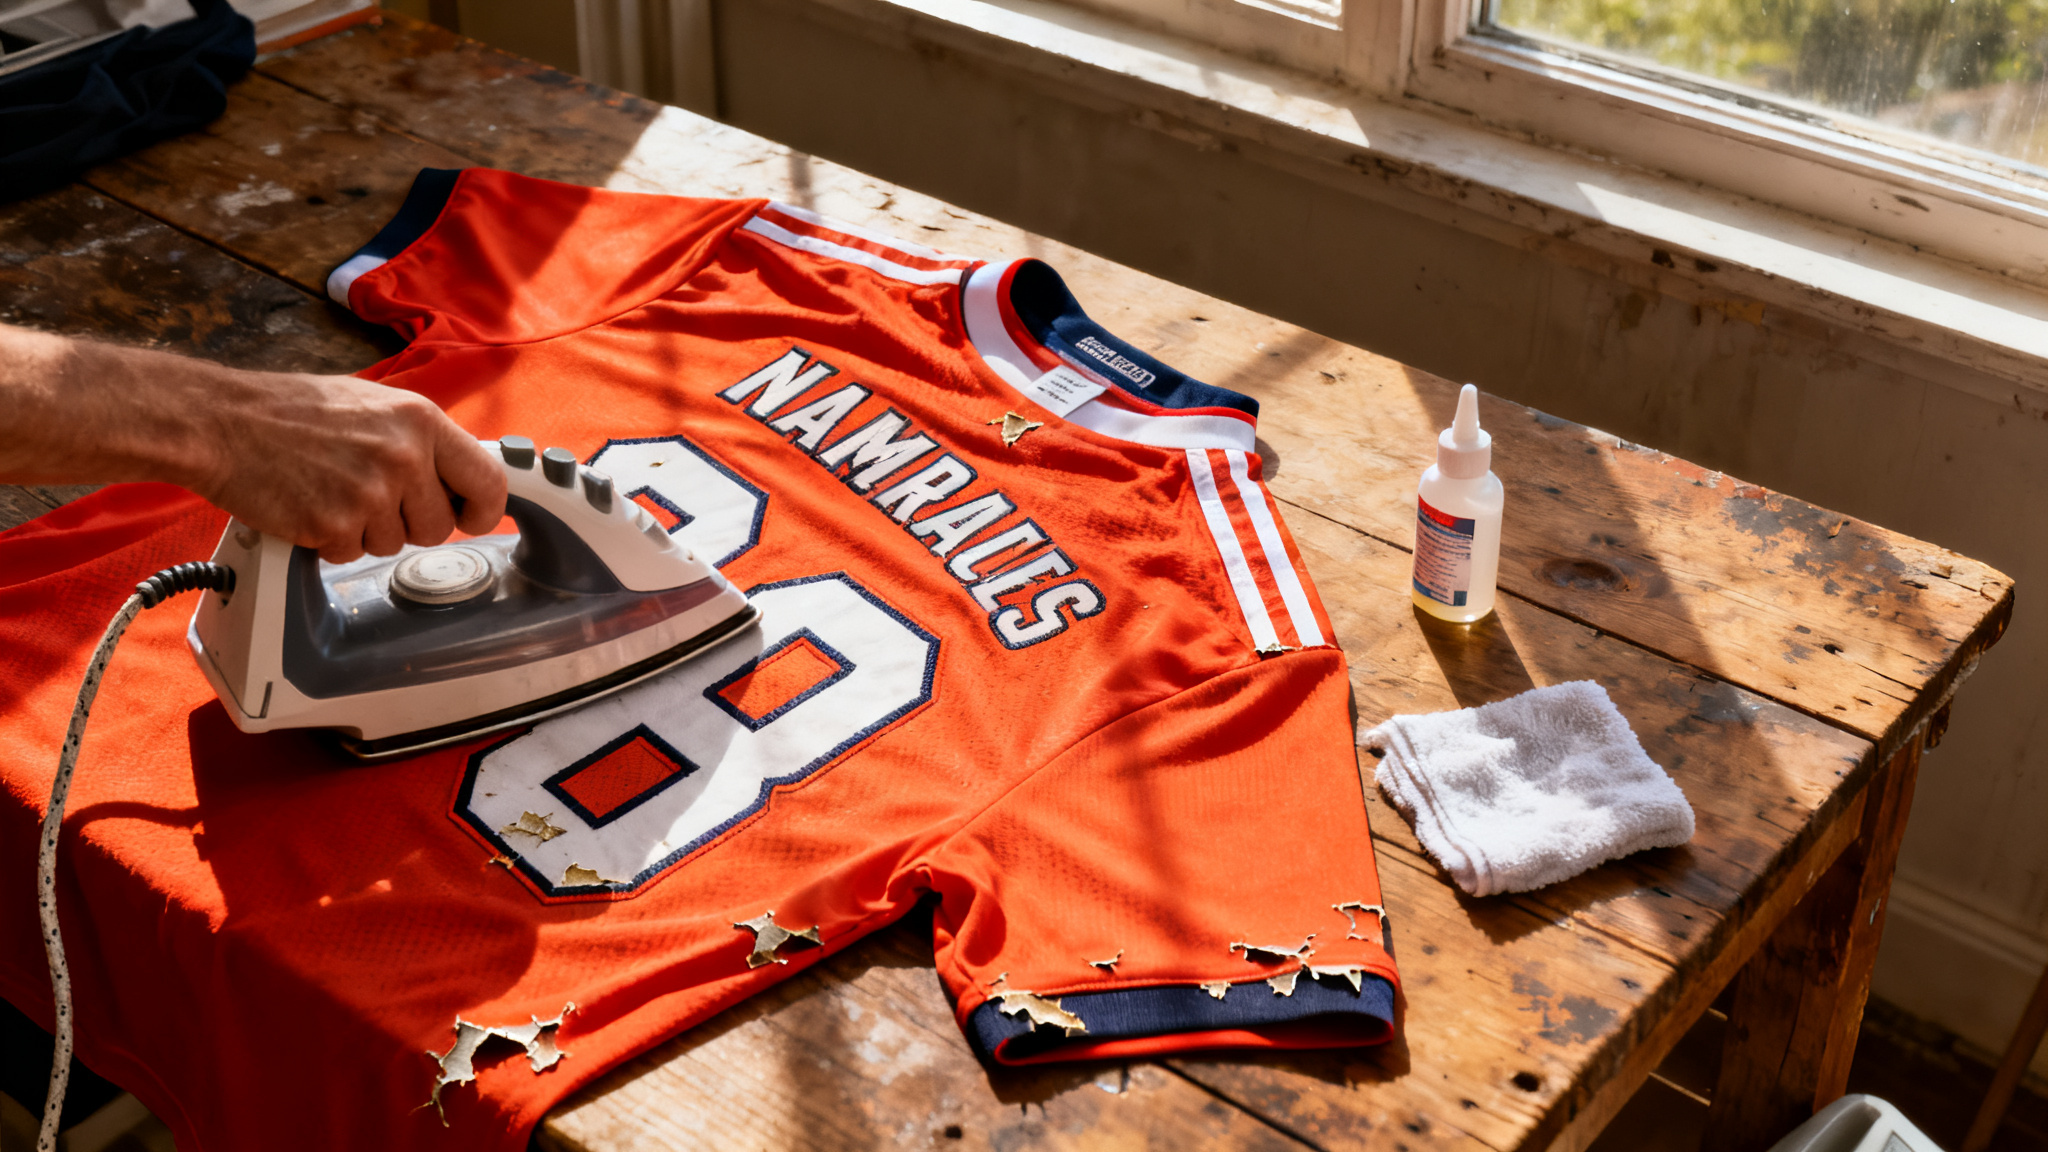
The reverse iron method works on HTV and flock by applying medium heat through the back of the shirt, softening the adhesive bond so each letter peels away cleanly without pulling fibres or scorching the polyester surface. It is the most reliable home technique for modern replica kits, and when done at the right temperature it leaves minimal residue.
What you need
- A domestic iron (steam function OFF)
- A clean, damp cotton cloth or a piece of baking paper
- A flat surface (ironing board or hard table covered with a towel)
- Tweezers or a blunt knife for peeling
Step by step
- Turn the shirt inside out. Place it flat with the printing area facing up (so you are working from the reverse side).
- Set the iron to medium heat, around 130°C to 140°C. No steam. For polyester shirts, stay at the lower end; for cotton blends you can nudge slightly higher.
- Place the damp cloth over the area. Press the iron down firmly for 10 to 15 seconds. Do not slide it. Lift the iron, remove the cloth, and immediately try to peel the transfer from the front of the shirt while the adhesive is still warm.
- Work slowly from one corner. If the letter does not lift easily, repeat the heat application. Never force a transfer off while it is cold: that is how fibres tear.
- Repeat for each letter or number.
The damp cloth creates a brief burst of moist heat that softens the adhesive without scorching the polyester. Dry heat alone can melt synthetic fibres before the bond releases.
Once the bulk of the transfer is off, you will likely find a residue of adhesive left on the fabric. That sticky ghost layer is what causes the most visible damage if you stop here.
Using an Adhesive Solvent for Stubborn Residue and Screen Print
Choosing the right solvent for the job is where most home attempts go wrong: naphtha is the gentlest starting point for adhesive residue, isopropyl alcohol handles flat screen print ink effectively, and acetone is reserved as a last resort because it can strip dye from lighter fabrics. Using the most aggressive option first is the quickest route to a bleached patch.
After the heat step, or on its own for stubborn screen print, an adhesive solvent does the heavy lifting. The most accessible options are:
- Naphtha (lighter fluid): effective on HTV adhesive residue, gentle on most fabric dyes.
- Isopropyl alcohol (90%+): good on flat screen print ink, widely available, fast-drying.
- Acetone (nail polish remover): the most aggressive option. Works well but can strip dye from lighter coloured shirts or damage certain coatings. Always patch test.
- Commercial transfer removers: products like Goo Gone or Uni-Solve are formulated specifically for adhesive residue. Slower but the safest for expensive or delicate kits.
Here is a quick-reference comparison of the three main solvents so you can pick the right one before you open anything:
| Solvent | Speed of action | Dye safety | Best use | Verdict |
|---|---|---|---|---|
| Naphtha (lighter fluid) | Medium (2-4 min) | High: rarely lifts dye on polyester or cotton | HTV and flock adhesive residue after heat removal | Start here. Gentlest option available to home users. |
| Isopropyl alcohol 90%+ | Fast (30-90 sec) | Good: safe on most polyester, patch-test on cotton | Flat screen print ink; quick residue cleanup | Workhorse solvent. Widely available and fast-drying. |
| Acetone (nail polish remover) | Very fast (<30 sec) | Low: can bleach lighter fabrics or strip coatings | Stubborn screen print on dark kits only, after patch test | Last resort. Always patch test on inner seam first. |
How to apply safely
- Dampen a cotton pad, not drench it. You want the solvent working on the surface layer, not soaking through to the other side of the shirt.
- Work in small circular motions from the outside of the printed area toward the center. This prevents spreading staining outward.
- Blot, do not rub hard. Aggressive scrubbing can distort the polyester weave and leave a permanently roughened patch.
- Once the residue lifts, rinse the area with cold water and mild detergent, then air dry flat.
Screen print ink is significantly more resistant than HTV adhesive. Multiple applications with isopropyl alcohol, combined with gentle scrubbing using a soft toothbrush, can fade and remove it over several sessions. Do not expect a single pass to do the job.
For removing screen-printed lettering from a football shirt completely, a commercial plastisol ink remover (used by print shops) is more effective than consumer solvents. Which brings us to the professional option.
When to Take the Shirt to a Professional Textile Printer
A professional textile printer is worth the fee when the shirt is high-value, when the printing covers a large area, or when you want the jersey re-lettered correctly after removal, since industrial heat presses and commercial solvents deliver results that no home setup can match. The cost is modest compared to the risk of ruining a kit you care about.
Some situations genuinely call for a professional hand. A good textile print shop has access to industrial heat presses set to precise temperatures, along with commercial solvents not available to the public. They can also re-apply new printing over a cleaned surface if that is what you want.
Go professional if:
- The shirt is a valuable vintage or match-worn piece where any damage would be costly.
- The printing covers a large area (a full name, numbers, and sponsor block) and the home method risks leaving multiple adhesive patches.
- You want the shirt re-printed with corrected lettering after removal. Many print shops offer a combined strip-and-reprint service for a flat fee, typically between $15 and $35 depending on the complexity.
- The shirt has a specialist fabric (mesh panels, ribbed inserts, water-resistant coating) that reacts unpredictably to heat or solvents.
When looking for a printer, ask specifically about experience with sportswear transfers. A general print shop used to cotton t-shirts may not calibrate correctly for lightweight polyester, and a scorched shirt is worse than a shirt with the wrong name on it.
If you are also thinking about getting a fresh set of custom lettering applied properly, our guide to choosing the best custom football jerseys covers what to ask for and what quality markers to check before the heat press touches the fabric.
Kit recommends
Blank Football Jerseys Ready for Custom Printing
If the stripped surface is not clean enough to re-print, starting fresh on a quality blank is often the smarter call. Our blanks are pre-washed, cut for a match-day fit, and bonded correctly so the first heat press sticks and stays.
Browse blank jerseys
Risks That Can Permanently Damage Your Shirt
The five risks that ruin shirts permanently are heat ghosting from direct iron contact, fabric pull from cold peeling, dye lift from aggressive solvents, the halo effect from over-saturated cotton pads, and sublimation confusion where no surface layer exists to remove in the first place. Recognising these before you start means you can work around each one.
- Heat ghosting: a shiny, discoloured patch where the transfer sat. Caused by too much heat applied directly to the shirt face, or by pressing too long. Polyester fibres melt slightly and reflect light differently. This cannot be reversed.
- Fabric pull or pilling: if you peel the transfer before the adhesive is fully softened, you drag fibres with it. The surface looks roughened and the weave pattern breaks up.
- Dye lift: solvents, especially acetone, can pull dye from the shirt fabric along with the adhesive, leaving a bleached patch. Always patch test on an inner seam.
- Halo effect: the solvent spreads residue in a ring around the treatment area. Keep the cotton pad barely damp and work from center outward to avoid this.
- Sublimation confusion: treating a sublimation-printed shirt as if it were HTV will achieve nothing except potential damage. The ink is inside the fibre, not on top of it. No solvent touches it without also attacking the fabric itself.
The safest rule: do one letter first before committing to the full name. Test the technique on a single character and assess the result before continuing.
When Keeping the Print (or Replacing the Shirt) Makes More Sense
Leaving the print in place, or simply replacing the shirt, is the right call more often than most guides admit: a mid-range replica with risky removal economics, a vintage shirt whose original printing is part of its collector value, or any kit where a professional over-print can cover the old name cleanly. The decision is about the shirt’s future, not just the current problem.
If the shirt has sentimental value but the name is wrong, a professional can often apply a fresh layer of flock on top of the existing transfer, covering it cleanly. This works better than stripping when the original print is flat and well-bonded.
If the shirt is a mid-range replica and the printing removal carries a real risk of visible damage, the economics shift fast. A clean shirt from stock costs less than a ruined one, plus the time and materials spent on the failed attempt. Our full football jerseys collection carries kits across clubs and price points, so finding a replacement blank for re-printing is straightforward.
For vintage football shirts with original printing, removal is almost never the right call. The printing is part of the provenance. A 1994 jersey with an original flock name-and-number is worth more with it than without it, even if the name means nothing to you. Collectors read the history in every layer of the shirt, and that original craftsmanship is what they pay for.
And if you are looking at a shirt you bought second-hand with someone else’s name on it, check whether the club or a specialist printer offers a matched re-print service. Getting a new name applied over a clean base usually looks better than a stripped surface that has seen solvent work.
Frequently Asked Questions about Removing Football Shirt Printing
The most common questions about removing football shirt printing come down to five things: whether polyester survives the process, what to do when the print is flat, how much professional removal costs, how visible the marks are afterwards, and whether stripping hurts resale value. The answers below cover all five in plain terms.
Can I remove printing from a polyester football shirt without damaging it?
Yes, in most cases, if the printing is heat-transfer vinyl or flock. Use the reverse iron method at low-medium heat with a damp cloth barrier, then clean adhesive residue with naphtha or isopropyl alcohol. The key risk with polyester is heat ghosting, so never iron directly onto the fabric face and keep temperature below 150°C.
What if the printing is flat and does not peel at all?
Flat printing that does not respond to heat is likely screen print or sublimation. Screen print can be reduced with repeated isopropyl alcohol treatment or professional plastisol remover. Sublimation ink is bonded into the fibre and cannot be removed without destroying the fabric. In that case, professional over-printing with a solid base layer is the only cosmetic fix.
How much does a professional football shirt printing removal cost?
Most textile print shops charge between $10 and $40 for a strip job depending on how much printing is present and the technique required. A combined strip-and-reprint service typically runs $20 to $50. Prices vary by region and shop. Always ask to see examples of previous sportswear work before committing.
Will removing the name and number leave visible marks on the shirt?
A small amount of residue discolouration is common after removal, especially on lighter coloured shirts. Careful solvent cleaning minimises this. Some ghosting (a faint outline where the letters sat) can remain on older transfers that have bonded for years. Testing on a single character first shows you exactly what to expect before you do the full name.
Is it worth removing printing from an old shirt to sell it?
Generally no. Buyers and collectors in the vintage football shirt market factor original printing into authenticity. Removing a name can actually lower value. The exception is a shirt with a personalised name that has no collector relevance; in that case, a clean strip can broaden the resale appeal, provided the fabric surface comes out clean.
Can I get a fresh name applied directly over the old print once removed?
Yes, if the surface comes out clean and flat after solvent work. Any remaining adhesive residue must be fully removed first, as a new transfer will not bond properly over a sticky or uneven surface. A professional printer can assess the base before committing the new lettering. For a shirt you plan to wear regularly, this is usually the most satisfying outcome.
What to Do Once the Print Is Gone
Once the print is cleanly removed, you have three practical routes: wear the shirt as a plain base, commission a professional re-print with the name applied correctly, or keep it blank as a collector base if the crest and embroidery are in strong condition. The quality of the underlying fabric determines which option makes most sense.
A successfully stripped shirt gives you options. You can wear it as a plain base shirt, which works well for training and casual use. You can take it to a reputable printer and have a new name applied properly with matched flock or vinyl. Or you can keep it blank and treat it as a collector’s base, especially if the main body crest and sponsor embroidery are in good condition.
Whatever direction you go, hand wash the shirt in cold water after any solvent work before wearing it against skin. Solvents are skin irritants. A single gentle wash removes any remaining chemical trace from the fabric.
The fabric does not lie, as I often tell the team when we check new stock. Run your hand over the area after treatment. If it feels the same as the untouched parts of the shirt, the job is done right. If it feels rough, stiff, or slightly sticky, it needs another pass. That tactile check is the most honest quality control you have. If you want a kit that starts clean from the first wear, browse our range of football jerseys ready for custom printing and get the name right before it ever hits the fabric. ⚽
The shop
Find your jersey
Clubs, national teams, concept and retro designs. With your name and number, if you like.
- Free shipping from $65
- 3 jerseys = 1 free
- 14-day returns